Install ESP32 Board in Arduino IDE – Step by Step Guide (2025)
The ESP32 is a powerful microcontroller with built-in WiFi and Bluetooth, widely used in IoT and embedded projects. However, by default, the Arduino IDE does not support ESP32 boards. In this guide, I’ll show you how to install ESP32 in Arduino IDE and start programming it.
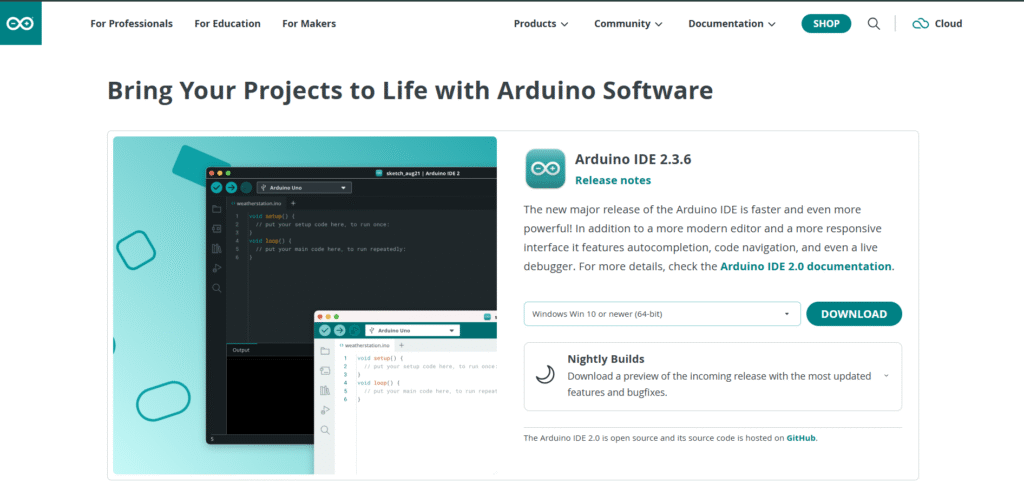
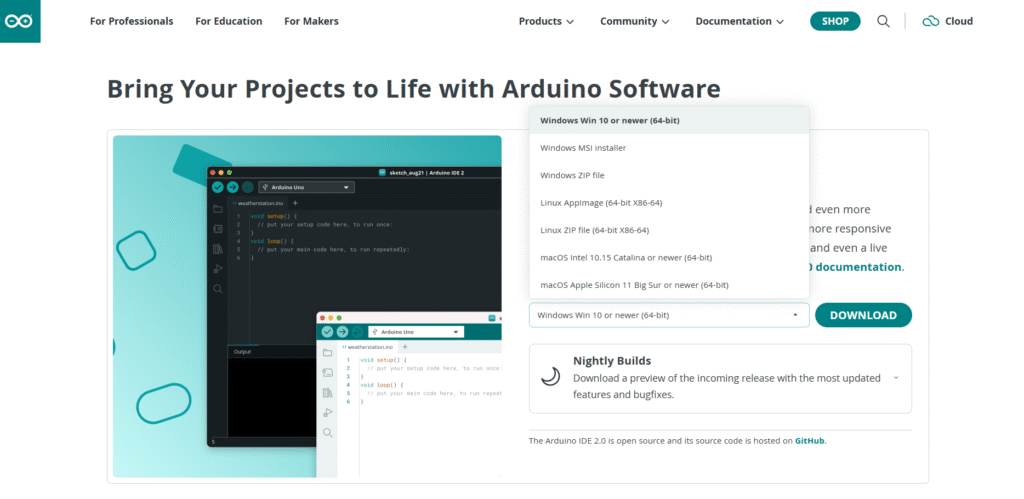
Step 1: Install Arduino IDE
-
Download and install the latest version of Arduino IDE from the official website: https://www.arduino.cc/en/software
-
Install it according to your operating system (Windows, Mac, Linux).
Step 2: Add ESP32 Board Manager URL
- Open the Arduino IDE.
- Go to File → Preferences.
- In the “Additional Board Manager URLs” field, paste the following URL:
https://espressif.github.io/arduino-esp32/package_esp32_index.json
- If you already have another URL there, separate them with a comma.
- Click OK to save.
Step 3: Install ESP32 Board Package
- Go to Tools → Board → Board Manager.
- In the search bar, type ESP32.
- Click on Install for “esp32 by Espressif Systems”.
- Wait for the installation to complete.
Step 4: Select Your ESP32 Board
- Connect your ESP32 board to your computer via USB.
- Go to Tools → Board → ESP32 Arduino and select your specific ESP32 board (e.g., ESP32 Dev Module).
- Under Tools → Port, select the correct COM port.
Step 5: Upload the First Program
- Open File → Examples → WiFi → WiFiScan.
- Click the Upload button.
- After uploading, open the Serial Monitor (Ctrl + Shift + M).
- You should see available WiFi networks being scanned by your ESP32.
Common Issues & Fixes
- Driver Not Found: If your ESP32 is not detected, install the CP2102 or CH340 USB driver (depending on your board).
- Upload Error: Hold the BOOT button on ESP32 while uploading.
Conclusion
That’s it! 🎉 You have successfully installed the ESP32 board support package in Arduino IDE. Now you can start building your own IoT, robotics, and smart home projects using ESP32.
👉 If you found this guide useful, share it with your friends and check out my other tutorials on Virtual Pathshala
